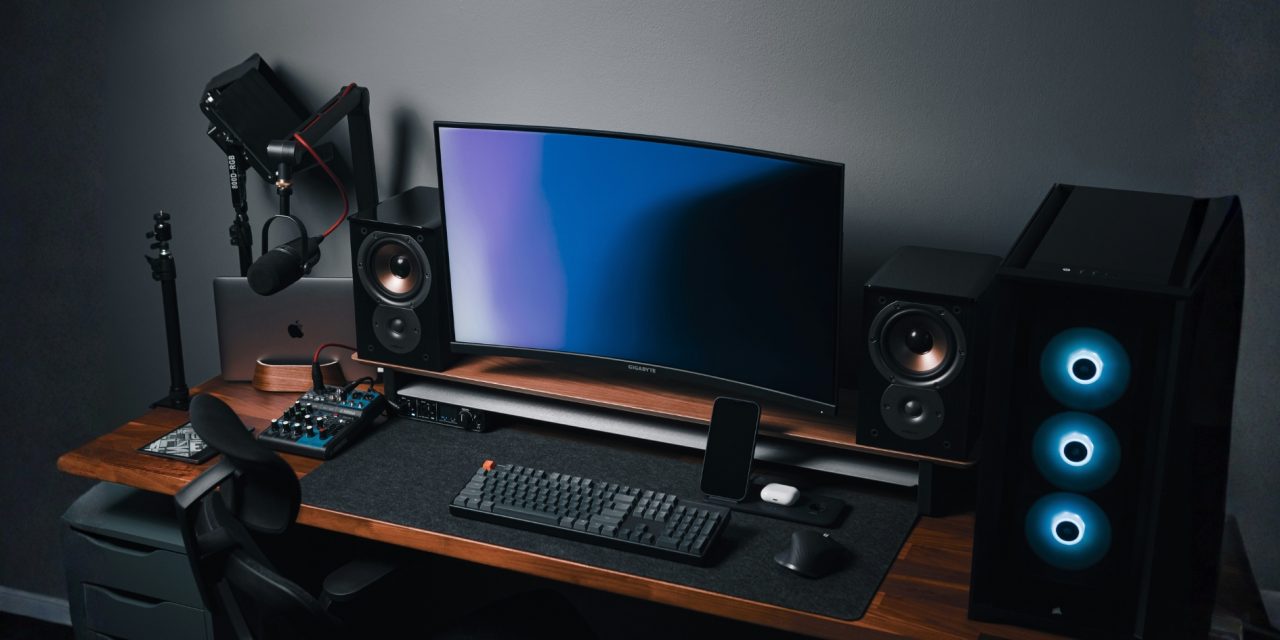
There’s a moment every producer hits. You’ve got the glowing RGB strips, a desk that looks like a spaceship, and gear that could pass for modern art… but your mix still sounds like it was recorded inside a cereal box.
That disconnect is where most studios quietly fall apart. Not because of lack of passion, but because gear was chosen for how it looks, not what it fixes. The truth is, output improves when every piece earns its place in your workflow. Not when it photographs well.
Match Gear to Your Workflow
The fastest way to waste money in music production is buying gear that solves problems you don’t actually have. A vocalist chasing clean takes needs a completely different setup than a producer building beats all day. That sounds obvious, but most setups are still built backwards.
Take a tracking-focused setup. A combination like a Shure SM7B with a Cloudlifter works because it solves gain and clarity issues right at the source. Meanwhile, a mix engineer benefits far more from accurate monitoring like Yamaha HS8 speakers paired with correction software. Same budget range, completely different results.
This is where workflow alignment becomes everything. When your gear matches your daily tasks, friction disappears. Ideas move faster, decisions become clearer, and suddenly you’re finishing tracks instead of endlessly tweaking them.
A useful way to stay grounded is thinking in terms of a “gear synergy score.” Not in a rigid math sense, but as a mindset. Ask yourself how well a piece of gear fits your workflow, whether it respects your budget, and if it will still make sense six months from now. If it ticks those boxes, it’s probably a smart buy.
Studios that scale well aren’t built on random upgrades. They’re built on alignment.
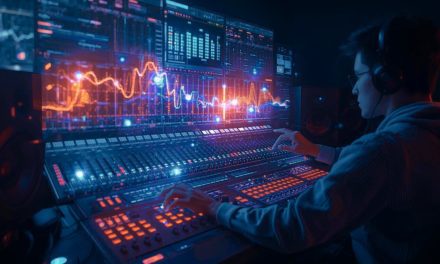
Measure Baseline Performance Before Upgrading
Here’s the uncomfortable truth: most people upgrade gear before they even understand what’s wrong with their current setup.
Before spending anything, you need a baseline. That means testing what your system actually does, not what you think it does.
Start simple. Run pink noise through your chain and analyze it in a tool like Audacity. That alone can reveal issues in frequency response and noise that you’d never notice casually. Suddenly, that “warm sound” might just be muddy low-end buildup.
From there, check your noise floor. A clean setup should sit comfortably below -75dB. If it doesn’t, no expensive microphone will fix it. You’re dealing with a signal chain problem, not a gear quality issue.
Latency is another silent workflow killer. Anything above 5ms starts to feel disconnected, especially when tracking vocals or playing MIDI instruments. If your system lags, your creativity will too.
Then comes the most humbling test: blind A/B comparisons. Play your mix against a professional reference without looking. If you can’t reliably tell the difference, you’re in a good place. If you can, your next upgrade just revealed itself.
This process does something powerful. It removes guesswork. Instead of chasing shiny upgrades, you start solving real problems.
Prioritize Audio Gear That Impacts Output First
If your goal is to sound better, your priorities need to reflect that. And no, LED lighting does not improve your mix clarity (sad, but true).
Everything starts with conversion. Your audio interface is the gatekeeper of your entire signal chain. A unit like the Universal Audio Apollo Twin X delivers clean conversion, low latency, and reliable performance. That alone can elevate your recordings more than stacking expensive mics on a weak interface.
Next comes monitoring. Studio monitors are brutally honest, which is exactly what you need. Options like Eve SC204 or Neumann KH80 reveal problems instead of hiding them. Once you hear accurately, your mixing decisions improve almost instantly.
Microphones and preamps follow after that. They matter, but only once your foundation is solid. A great mic into a weak chain still produces average results.
The smartest studios build a minimum viable signal chain first. Microphone into preamp, into interface, out to accurate monitors. No fluff, no distractions. Just a clean, reliable path from idea to output.
Once that works, everything else becomes an upgrade—not a gamble.
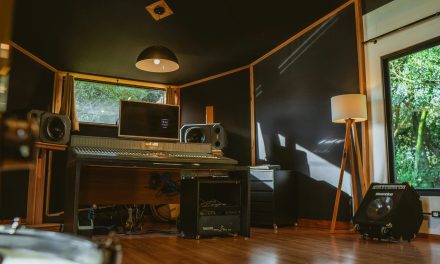
Visual Tools: Keep Them Practical, Not Performative
Video gear is where things can spiral quickly. It’s very easy to overspend, chasing “cinematic” results that your audience will barely notice.
A setup like the Sony A7 IV paired with an Atomos Ninja V already delivers professional-quality footage for most creators. In fact, it covers about 90% of use cases without stepping into extreme price territory.
Even simpler setups, like the Sony ZV-E10 with a capture device, are more than enough for content creation, streaming, and tutorials. Add solid lighting, and you’ve solved most visual problems.
Lighting, by the way, matters more than the camera. A well-lit shot from a mid-range camera will always outperform a poorly lit shot from a premium one. That’s just physics being stubborn.
The key is balance. Your visuals should support your audio, not compete with your budget.
Conclusion
Great studios don’t happen by accident. They’re built through small, intentional decisions that prioritize output over aesthetics.
When you define your workflow, measure your current performance, and invest in gear that solves real problems, everything changes. Your sessions become smoother, your mixes become clearer, and your creativity stops fighting your setup.
And maybe—just maybe—you’ll spend less time rearranging your desk for photos and more time actually finishing tracks.
What’s one piece of gear you’ve bought that looked amazing but didn’t actually improve your sound? Let us know in the comments, and stay locked in with smarter studio decisions, real workflow upgrades, and no-nonsense gear insights only at DLK Music Pro News!

