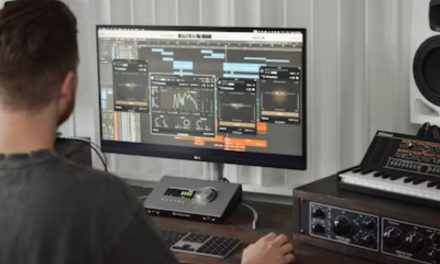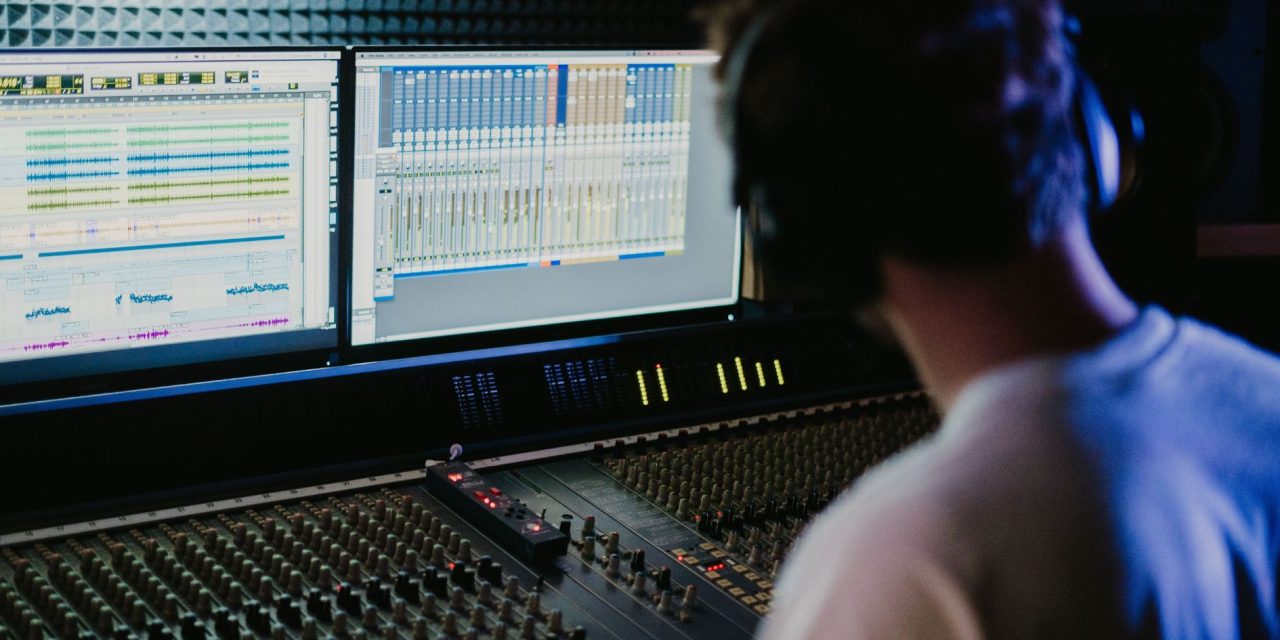
You can spend hours tweaking plugins, upgrading monitors, and second-guessing your mix. Sometimes, the faster solution is simply listening to a great track.
Reference tracks give producers a reliable point of comparison during a session. Instead of mixing from memory, you can check your balance, dynamics, frequency range, and overall impact against music you already know works.
That makes reference track mastery more than a mixing technique. It becomes a workflow habit that helps producers make decisions faster, train their ears, and avoid unnecessary gear chasing.
Step 1: Select Your Reference Tracks
Choose three reference tracks carefully rather than filling your session with ten different songs.
A useful selection could include one current charting track, one genre benchmark, and one personal favourite. Each reference can teach you something different about arrangement, balance, dynamics, or sound design.
For example:
- Pop: A Sabrina Carpenter track for vocal clarity and spacious production.
- EDM: A Skrillex track for bass weight, drops, and build-up dynamics.
- Hip-hop: A Metro Boomin production for 808 weight and rhythmic detail.
Load the tracks directly into your DAW, whether you’re working in Ableton Live, FL Studio, or another production environment.
Keeping your references inside your project makes comparison quick. You don’t have to stop working, open another application, or rely on memory.
That small change can make the entire session more efficient.
Step 2: Match Levels Before Comparing
Loudness can easily trick your ears.
A louder track will often sound more impressive, even when its balance isn’t necessarily better. That makes level matching essential when comparing your production with a professional reference.
Instead of treating -14 LUFS or -8 LUFS as universal targets, use your reference track to understand its loudness and dynamics within context.
A loudness meter can help you bring the two tracks closer together before making critical comparisons.
Tools such as the free version of Youlean Loudness Meter make this process accessible without expensive equipment.
Once levels are reasonably matched, compare the verse and chorus separately. Listen for differences in density, punch, vocal presence, bass weight, and overall energy.
You may discover that the problem isn’t another plugin.
It might simply be balance.
Step 3: Build a Fast A/B Routine
A reference track becomes genuinely useful when comparison becomes quick.
Place your mix and reference on separate tracks, then switch between them regularly. The goal isn’t to copy the reference. It’s to identify where your production is behaving differently.
Listen for questions such as:
- Is my low end too heavy or too weak?
- Are my vocals sitting in the same general space?
- Does my chorus actually feel bigger than my verse?
- Are my drums cutting through?
- Is the stereo image helping or hurting the mix?
- Are my effects creating clarity or clutter?
Switching between tracks frequently also helps reduce the danger of mixing entirely from memory. That makes A/B testing a simple productivity habit rather than another complicated production task.
Keep brief notes about what you hear. Then make one change at a time and compare again. The process becomes a feedback loop: listen, identify, adjust, and check.
Step 4: Use Spectral Analysis to Support Your Ears
Your ears should make the final decisions, but visual tools can help explain what you’re hearing.
Use iZotope RX or another spectral analysis tool to examine your reference tracks. Look at areas where energy builds, particularly around the low end, vocals, and crowded midrange.
You might notice that your chorus contains too much energy in one frequency range. Perhaps your bass is masking the kick, or your effects are filling space that should remain open for the vocal.
Spectral analysis gives you another perspective on those problems.
It also becomes more useful when you compare different genres. A pop production, EDM track, and hip-hop record may have very different frequency profiles, but studying them helps develop more flexible listening skills.
The objective isn’t to make every production look identical.
It’s to understand why different mixes work.
Turning Reference Tracks Into a Daily Workflow Habit
The real benefit comes from consistency.
Instead of waiting until a mix sounds wrong, make reference checking part of your normal production routine.
You could keep three carefully selected references inside a project template. Load your loudness meter before starting a serious mix. Check your low end after major arrangement changes. Compare your chorus whenever you begin second-guessing it.
These small habits reduce decision fatigue because you aren’t constantly asking whether something sounds right in isolation.
You have a reliable comparison point.
That can make your sessions more focused and help you spend less time endlessly tweaking sounds that were never the actual problem.
Reference tracks can also expose weaknesses that expensive equipment cannot fix. A better monitor may reveal an imbalance, but it won’t automatically teach you how to correct it.
Your ears still have to learn what to listen for.
Conclusion
Reference tracks give producers something more valuable than another piece of equipment: a consistent way to make better decisions.
By choosing strong references, matching levels, A/B testing regularly, and using spectral analysis when necessary, producers can turn comparison into a repeatable workflow habit.
The more consistently you practise it, the faster your ears become at identifying problems. And that is where reference track mastery really pays off. The goal isn’t to make your track sound like someone else’s. It’s to make your decisions sound more intentional.
What do you usually compare first when a mix isn’t working—the vocals, drums, bass, or overall balance?
Keep sharpening your production habits with DLK Music Pro News, where better workflows, tools, and music-making ideas meet.